As the summer approaches here in Forest Lake, MN, homeowners begin prepping outdoor spaces for summer activities. That means getting outdoor furniture cleaned and set up, preparing barbeques, and devising shade plans. However, there are some great ways to prepare your home for summer activities that you only have to do once. One of them is installing outdoor electrical outlets. Outdoor outlets make everything you do outside easier.
They make it simple to install string lights, charge your devices, and even power a radio or other device. They also make it so you can easily use power tools as you work on other aspects of your yard preparation. If you want to install outdoor outlets, however, you must do so properly. The simplest way to do this is to call the experts at Plugz Electric to handle the job for you. Here are the steps involved in properly installing an outdoor outlet.
Can You DIY an Outdoor Outlet Installation?
Installing an outdoor outlet isn’t one you should tackle yourself unless you happen to be a professional electrician. There are a variety of reasons for that. One is that you need extensive knowledge of the relevant electrical codes to do the job right.
If you don’t, you may have to eventually hire an electrician to redo the work. This is a common occurrence when homeowners try to sell their homes. Another reason is safety. Working with electricity can be dangerous. Plus, you’ll be exposing your home’s electrical system to the elements via your new outdoor outlet. If it isn’t installed properly, you run the risk of damaging your home’s electrical system.
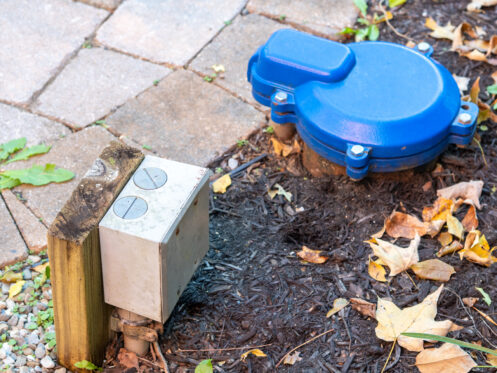
The Necessary Tools and Components
The tools and components you need depend on where you plan to install your new outdoor electrical outlet. For example, installing an outdoor outlet directly in an exterior-facing wall of your home is fairly simple. However, if you want an outlet installed a significant distance from your home, that’s a whole different project. For that, you’d need a specific type of electrical cable that’s rated for outdoor runs. For this article, we’ll assume you want an outlet mounted on an exterior wall.
For a wall-mounted outdoor outlet, you will need the following tools and materials:
- Drill with drill bits
- A reciprocating saw
- 12/2 or 14/2 electrical wire
- Outdoor-rated GFCI outlet
- Weatherproof electrical box
- Silicone caulk
- Wire cutters and strippers
- Screwdrivers
- Voltage tester
- Wire nuts
The Steps Required To Install an Outdoor Outlet
Installing an outdoor outlet on an exterior wall doesn’t take very long. It’s a straightforward and short process an electrician can complete with ease. Here are the steps involved.
Choose an Outlet Location
The first step is to decide where you want your outdoor outlet. The easiest place to install one would be opposite an interior outlet along an exterior wall. This will allow the new outlet to draw power from an already existing outlet circuit.
Cut the Circuit’s Power
With a location chosen, the next step is to cut power to the relevant circuit. The safest way to do this is to use a voltage tester. To do it, turn off the breaker that controls power to the outlet. As you do, note the amperage of the circuit breaker. Then, use the voltage tester to confirm that the outlet has no power. Only proceed after confirming this.
Remove Existing Outlet
Next, you’ll need to remove the existing outlet’s cover and disconnect it from its wiring. At this point, you must check that there’s enough room in the electrical box for additional wires. If not, you must remove the box and replace it with a larger one.
Drill, Add Exterior Electrical Box, and Run Wire
With the interior outlet prepared, the next step is drilling through to the outside. Begin by punching out the knockout tab in the rear of the box. Then, use a long drill bit to drill through the opening on a downward angle until you exit the exterior wall. If you want a recessed outdoor outlet, the next step is to trace the outdoor box’s outline on the wall. Then, use the reciprocating saw to cut out an appropriate hole.
Finish by installing the box and using the silicone caulk to seal the gap around it. Otherwise, you can mount the electrical box right on the wall, using the drilled hole to align it properly. Once the box is mounted, choose the appropriate electrical wire and pull it through the hole from the inside out.
Connect and Install Both Outlets
Finally, you can connect the wires to the outdoor outlet and install it in its box. Then, you can connect the new wire to the existing wires in the interior box. You will need an additional short length of wire to power the existing interior outlet. Connect all three sets of leads together and secure them with wire nuts. Then, connect the outlet to the new bare leads and reinstall it in the outlet box. When you’re done, turn the power back on and test both outlets for functionality.
Your Outdoor Outlet Installation Experts
Of course, the easiest and safest way to add an exterior outlet to your Forest Lake home is to let Plugz Electric do it for you. We offer comprehensive electrical services, including outlet installation. Our experienced and fully licensed electricians can add an exterior outlet that meets all current codes and safety guidelines. And you’ll love working with us, as our long list of five-star customer reviews can attest.
So, if you need a new exterior outlet installed in your Forest Lake home, call Plugz Electric today! We offer outdoor lighting too.
